Tutorials: Photoshop
Using Photoshop To Drop a Car
So, maybe you have followed the previous totorial and have have changed the cars color and you want to do something else to it. This This tutorial is based around Photoshop CS2 (or higher) and will guide you through one way to lower or adjust a cars height.
The actual process is relatively easy and this particular conversion took about 10 minutes to perform as I selected an easy picture to work with for this tutorial.Patience is key.
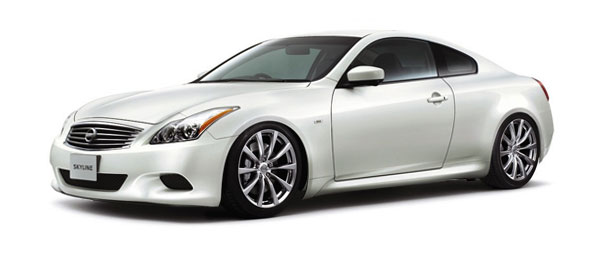
For this tutorial I am starting with a picture of a Nissan Skyline as seen below:
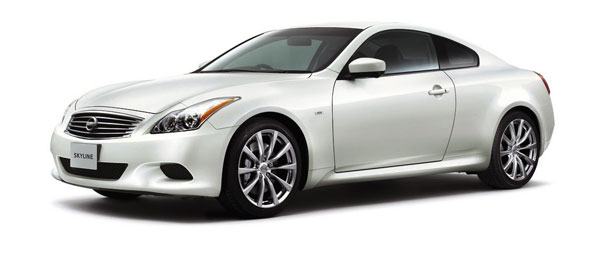
Original Image
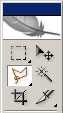
--- Open the digital image in Photoshop. Once the image has been opened, select the Polygonal Lasso Tool from the Tool Bar
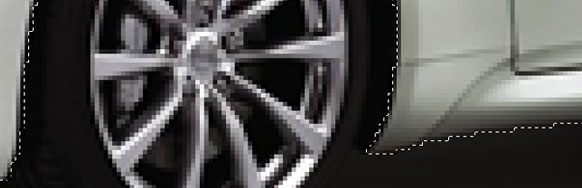
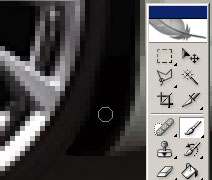
--- Use the tool to start edging the car as seen in the picture below. I will use CTRL + to enlarge the image as I work with it (CTRL - will make the image smaller again in the frame if necessary)
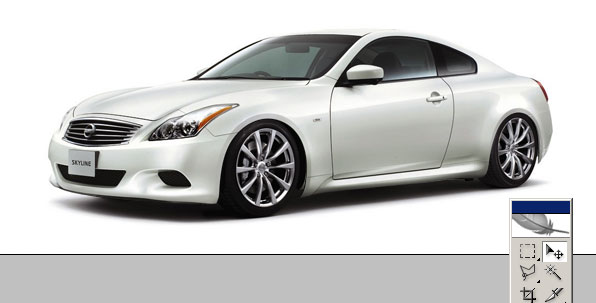
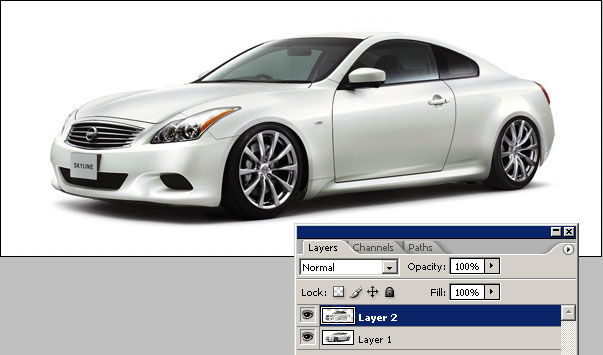
--- When completed, copy and paste into a new blank image that has transparent Background Contents. As you can see below (via a copy/paste as New Image), I only copied the top portion of the car into this step. As this image has a white background there is no real need to worry about background image transitions as would be the case of one within a real scene. In those cases try to select an area that will blend in when you "lower" the car so you do not get a easily seen transition line across the background.
NOTE: copy and paste into a new blank image that has transparent Background Contents which would allow you to work with the image as a layer.
--- At this point, you should be able to manipulate the selected section to lower the body by using the Move Tool
If you are using layers, select the new image and copy the contents into the original picture
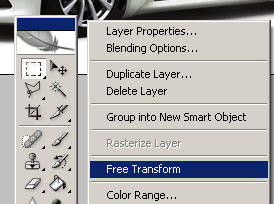
--- In some cases you may be done. In this case, I do not like the stance of the car as the front seems higher. At this point I am going to slightly rotate the section as an adjustment. From the image, right-click and select Free Transform, then right click again to select Rotate. If you are not using layers then your selection should still be selected as seen via the "ants" line, with a new layer this will not be seen.
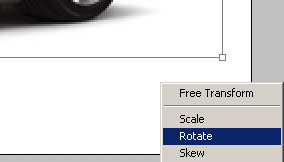
--- The selection will now have a square around it with selection points at the corner. Move the cursor (which should have left and right arrows on a curve when you can rotate) near a corner and slightly adjust the image. When satisfied, click the Rectangular Marquee Tool from the Tool Bar and select Apply
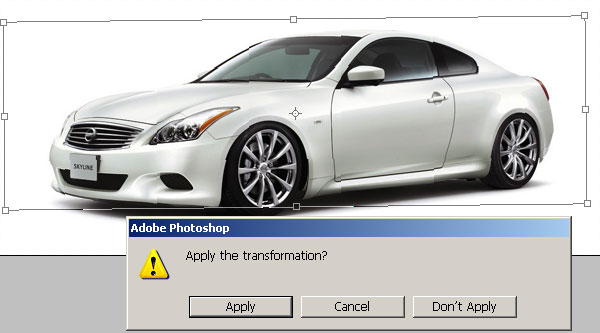
--- The above steps will result in:
--- While some may be happy with the results, I'm not as there are some additional adjustments that need to be done. One issue may be seen below. In order to repair the problem I simply selected the Brush Tool with a dark color and filled in the offending secction. If using layers you need to select Layer 1 to repair or select Layer/Flatten Image from the top bar.
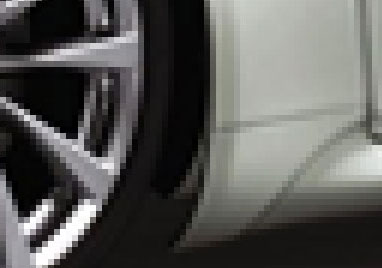
The final result is up to you. It may be necessary to do some blurring along shadow lines to finalize the image. The final result is below:

We hope this Photoshop image tutorial has been helpful. If you have any questions, please let us know.
So, maybe you have followed the previous totorial and have have changed the cars color and you want to do something else to it. This This tutorial is based around Photoshop CS2 (or higher) and will guide you through one way to lower or adjust a cars height.
The actual process is relatively easy and this particular conversion took about 10 minutes to perform as I selected an easy picture to work with for this tutorial.Patience is key.
For this tutorial I am starting with a picture of a Nissan Skyline as seen below:
Original Image
--- Open the digital image in Photoshop. Once the image has been opened, select the Polygonal Lasso Tool from the Tool Bar
--- Use the tool to start edging the car as seen in the picture below. I will use CTRL + to enlarge the image as I work with it (CTRL - will make the image smaller again in the frame if necessary)
--- When completed, copy and paste into a new blank image that has transparent Background Contents. As you can see below (via a copy/paste as New Image), I only copied the top portion of the car into this step. As this image has a white background there is no real need to worry about background image transitions as would be the case of one within a real scene. In those cases try to select an area that will blend in when you "lower" the car so you do not get a easily seen transition line across the background.
NOTE: copy and paste into a new blank image that has transparent Background Contents which would allow you to work with the image as a layer.
--- At this point, you should be able to manipulate the selected section to lower the body by using the Move Tool
If you are using layers, select the new image and copy the contents into the original picture
--- In some cases you may be done. In this case, I do not like the stance of the car as the front seems higher. At this point I am going to slightly rotate the section as an adjustment. From the image, right-click and select Free Transform, then right click again to select Rotate. If you are not using layers then your selection should still be selected as seen via the "ants" line, with a new layer this will not be seen.
--- The selection will now have a square around it with selection points at the corner. Move the cursor (which should have left and right arrows on a curve when you can rotate) near a corner and slightly adjust the image. When satisfied, click the Rectangular Marquee Tool from the Tool Bar and select Apply
--- The above steps will result in:
--- While some may be happy with the results, I'm not as there are some additional adjustments that need to be done. One issue may be seen below. In order to repair the problem I simply selected the Brush Tool with a dark color and filled in the offending secction. If using layers you need to select Layer 1 to repair or select Layer/Flatten Image from the top bar.
The final result is up to you. It may be necessary to do some blurring along shadow lines to finalize the image. The final result is below:
We hope this Photoshop image tutorial has been helpful. If you have any questions, please let us know.