Tutorials: Photoshop
Using Photoshop Quick Mask
This tutorial is based around Photoshop CS2, but the basics can be utilized with other software programs to take a portion of one picture and merge it with another.
The actual process is relatively easy and this particular conversion took 5 minutes to perform. Of course, digital images will differ and some will be more difficult than others to crop out the unnecessary image sections. Patience is key.
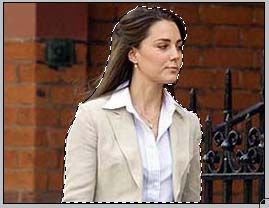
For this tutorial, two random images were found via the internet. The desired end result is to take the picture of a person and put them in another image and have the outcome look as natural as possible. When attemting to perform this, try and utilize images that have similar lighting or the final result will be obviously software-created.
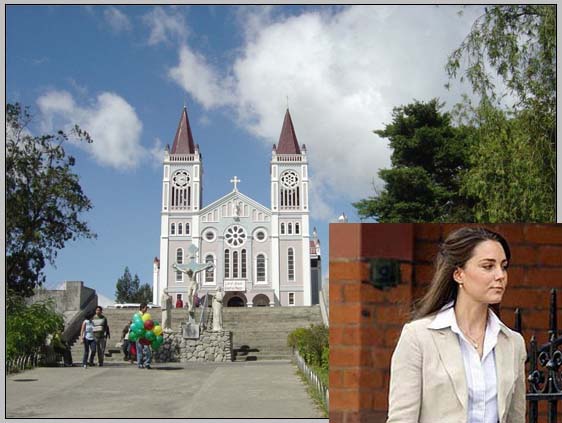
Original Images
Step 1: Enter Quick-Mask mode
* Open the first digital image in Photoshop. Once the image has been opened, press Q to initiate Quick-Mask mode. You can tell Quick-Mask mode has been enabled by looking at the title bar of the image as it should now show:

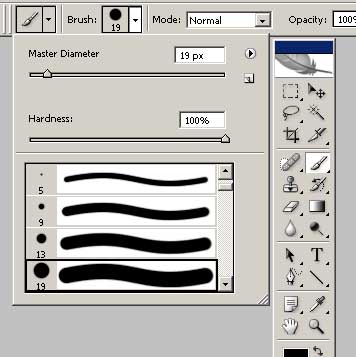
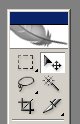
* From the tool bar, select the paint brush icon. This will open the paint-bar. Select a starting brush size to use for the mask effect. During the course of the mask selection process, you will probably need different sizes of brushes in order to highlight all aspects of the photo.
* Start using the paintbrush to select the portions of the image that you do not with to utilize. The selections will turn red as you go over them with the paintbrush
* Continue utilizing the paintbrush, with varying sizes, until the sections you wish to exclude from the image are completely covered.
* When complete, press Q again to exit Quick-Mask mode. At this point, the non- selected portions of the photo will be selected and outlined by the Photoshop "ants"
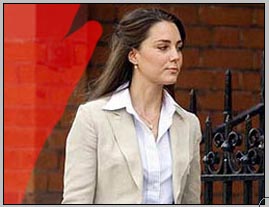
* At this point, select Edit/Copy from the top bar to copy the selected image section into memory. Open the destination photo and select Edit/Paste from the top bar. This will paste the image selection into the photo as a new layer.
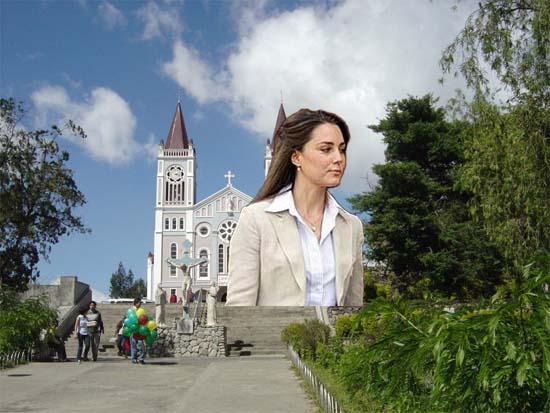
* Select the Move Tool from the tool bar and move the pasted section (Layer 1) of the image into place.
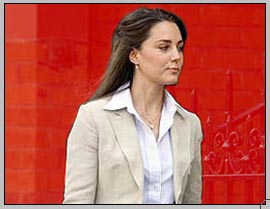
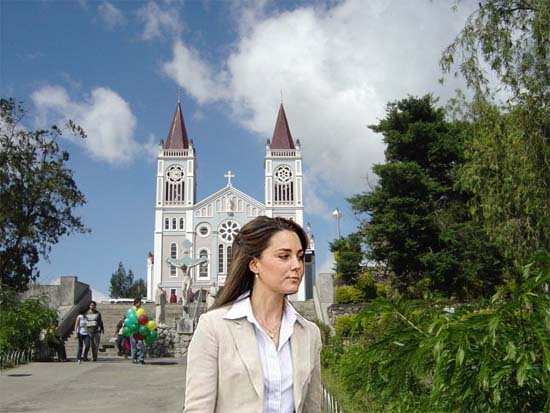
At this point, if you are happy with the results, you are done. You can save the image or continue working with it if so desired. The final result of this tutorial is:
We hope this Photo tutorial has been helpful. If you have any questions, please let us know.
This tutorial is based around Photoshop CS2, but the basics can be utilized with other software programs to take a portion of one picture and merge it with another.
The actual process is relatively easy and this particular conversion took 5 minutes to perform. Of course, digital images will differ and some will be more difficult than others to crop out the unnecessary image sections. Patience is key.
For this tutorial, two random images were found via the internet. The desired end result is to take the picture of a person and put them in another image and have the outcome look as natural as possible. When attemting to perform this, try and utilize images that have similar lighting or the final result will be obviously software-created.
Original Images
Step 1: Enter Quick-Mask mode
* Open the first digital image in Photoshop. Once the image has been opened, press Q to initiate Quick-Mask mode. You can tell Quick-Mask mode has been enabled by looking at the title bar of the image as it should now show:
* From the tool bar, select the paint brush icon. This will open the paint-bar. Select a starting brush size to use for the mask effect. During the course of the mask selection process, you will probably need different sizes of brushes in order to highlight all aspects of the photo.
* Start using the paintbrush to select the portions of the image that you do not with to utilize. The selections will turn red as you go over them with the paintbrush
* Continue utilizing the paintbrush, with varying sizes, until the sections you wish to exclude from the image are completely covered.
* When complete, press Q again to exit Quick-Mask mode. At this point, the non- selected portions of the photo will be selected and outlined by the Photoshop "ants"
* At this point, select Edit/Copy from the top bar to copy the selected image section into memory. Open the destination photo and select Edit/Paste from the top bar. This will paste the image selection into the photo as a new layer.
* Select the Move Tool from the tool bar and move the pasted section (Layer 1) of the image into place.
At this point, if you are happy with the results, you are done. You can save the image or continue working with it if so desired. The final result of this tutorial is:
We hope this Photo tutorial has been helpful. If you have any questions, please let us know.