Tutorials: Photoshop
Using Photoshop To change rims on a car
So, maybe you have followed the previous totorials and have have changed the cars color or lowered it and now you want to do change the rims. This This tutorial is based around Photoshop CS2 (or higher) and will guide you through a simple method for changing rims.
The actual process is relatively easy and this particular conversion took about 5 minutes to perform. By far, the hardest part of this 'chop is to find the donar vehicle. It is best to find a picture of a car, with rims you want, that have a similar angle and has similar color levels as the target vehicle.
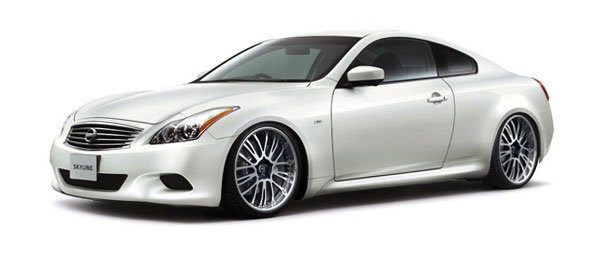
For this tutorial I am starting with the Nissan Skyline whach was used for the lowering tutorial as seen below:
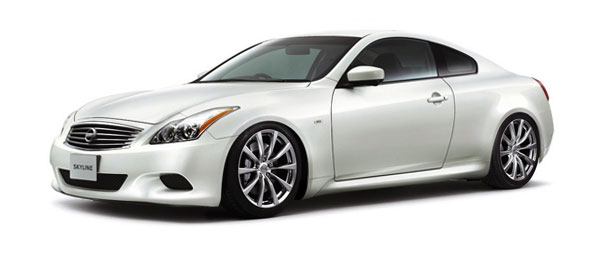
Original Image
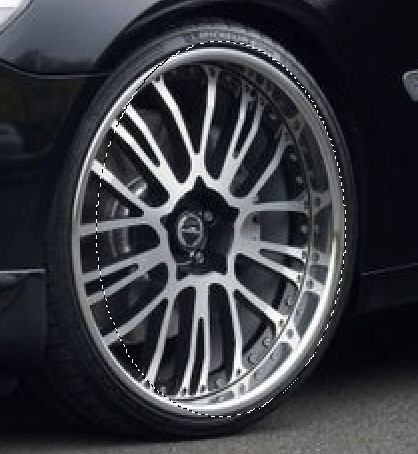
--- Search the internet for the donar car. Again, it is important for the vehicle to be a similar angle as the above image and the image should be larger as well to ensure a crisp transition. For this tutorial I am using wheels from the car below

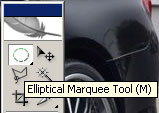
--- Open the digital donar image in Photoshop. Once the image has been opened, select the Eliptical Lasso Tool from the Tool Bar
--- Use the tool to select a rough outline of the rim as seen in the picture below.
--- Right click on the selected section and pick Transform Selection from the list. Adjust the selected section so that it properly is selecting the outline of the rim itself. Press CTRL C to copy the selected section (or from the top bar, Edit/Copy)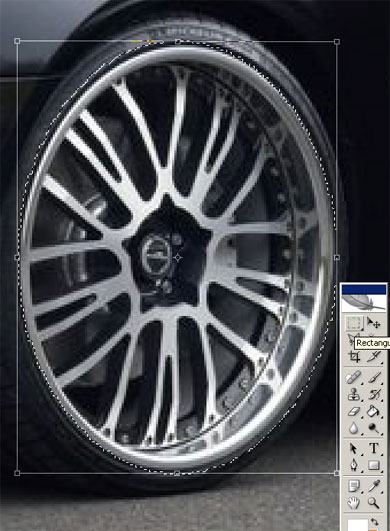
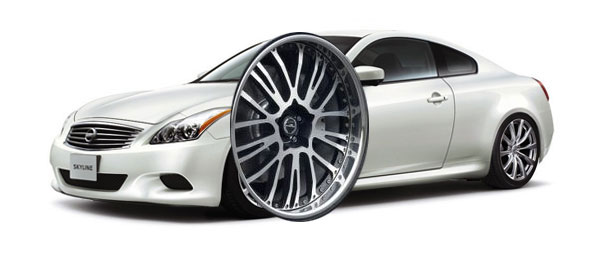
--- Go back to the original image and paste in the copied rim in as a new layer. As you can see, the cutout of the rim from the donar pic is far larger than needed
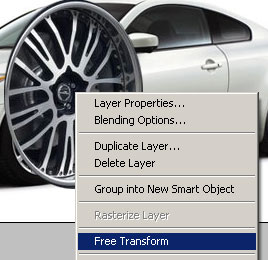
--- Right click the rim and select Free Transform
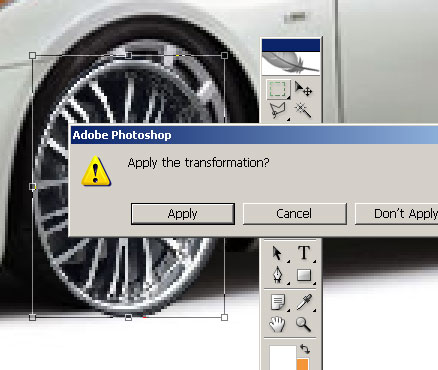
--- The selection will now have a square around it with selection points at the corner. Starting at a corner, shrink the rim to size and shape that is desired. Click the Eliptical Marquee Tool (if still selected) from the Tool Bar and select Appy
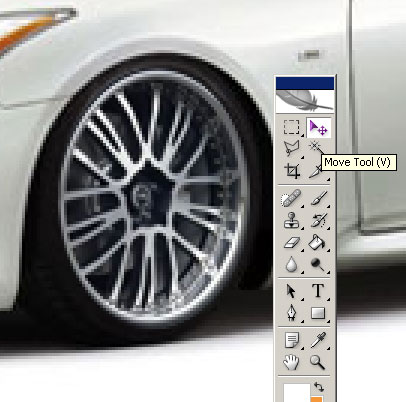
--- Select the Move Tool from the Tool Bar and move the rim to its proper location. It may be necessary to utilize some additional Free Transform to again adjust the rim to have the proper size and angle to match the image:
--- Follow the above steps to copy, paste and adjust the rear wheel to finish the picture.
As usual, the final result is up to you. It may be necessary to do some rotation and other options to get the image looking properly dependent on how close the donar image is to the original. The final result of this tutorial is below:
We hope this Photo tutorial has been helpful. If you have any questions, please let us know.
So, maybe you have followed the previous totorials and have have changed the cars color or lowered it and now you want to do change the rims. This This tutorial is based around Photoshop CS2 (or higher) and will guide you through a simple method for changing rims.
The actual process is relatively easy and this particular conversion took about 5 minutes to perform. By far, the hardest part of this 'chop is to find the donar vehicle. It is best to find a picture of a car, with rims you want, that have a similar angle and has similar color levels as the target vehicle.
For this tutorial I am starting with the Nissan Skyline whach was used for the lowering tutorial as seen below:
Original Image
--- Search the internet for the donar car. Again, it is important for the vehicle to be a similar angle as the above image and the image should be larger as well to ensure a crisp transition. For this tutorial I am using wheels from the car below
--- Open the digital donar image in Photoshop. Once the image has been opened, select the Eliptical Lasso Tool from the Tool Bar
--- Use the tool to select a rough outline of the rim as seen in the picture below.
--- Right click on the selected section and pick Transform Selection from the list. Adjust the selected section so that it properly is selecting the outline of the rim itself. Press CTRL C to copy the selected section (or from the top bar, Edit/Copy)
--- Go back to the original image and paste in the copied rim in as a new layer. As you can see, the cutout of the rim from the donar pic is far larger than needed
--- Right click the rim and select Free Transform
--- The selection will now have a square around it with selection points at the corner. Starting at a corner, shrink the rim to size and shape that is desired. Click the Eliptical Marquee Tool (if still selected) from the Tool Bar and select Appy
--- Select the Move Tool from the Tool Bar and move the rim to its proper location. It may be necessary to utilize some additional Free Transform to again adjust the rim to have the proper size and angle to match the image:
--- Follow the above steps to copy, paste and adjust the rear wheel to finish the picture.
As usual, the final result is up to you. It may be necessary to do some rotation and other options to get the image looking properly dependent on how close the donar image is to the original. The final result of this tutorial is below:
We hope this Photo tutorial has been helpful. If you have any questions, please let us know.